How to Install a Retractable Awning into Solid Brick
The seven steps from our installation manual, in order: measure the arm spacing, mark a level line, fix the brackets, lift the cassette on, pair the remote, set the pitch, check everything twice.
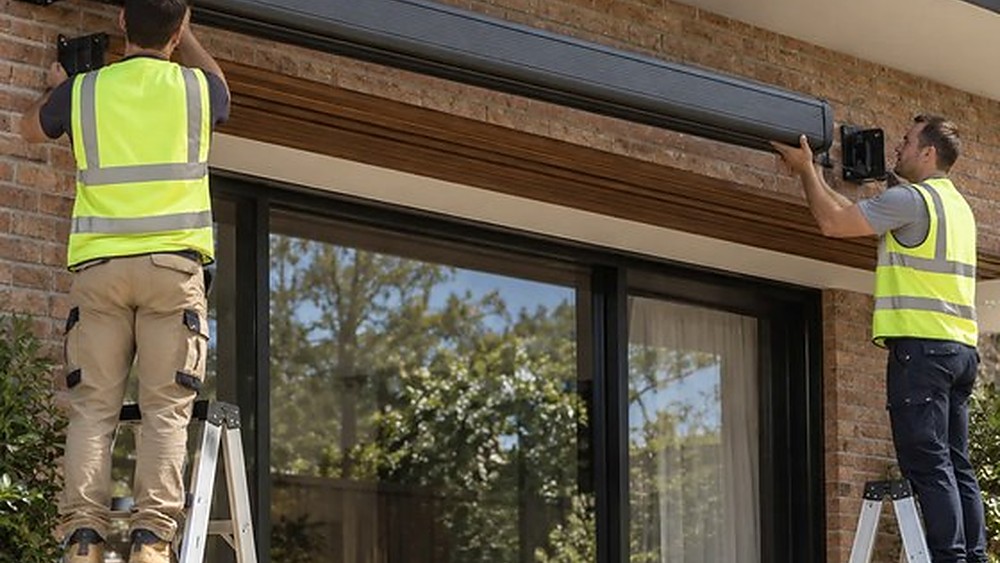
TL;DR: Measure the arm spacing off the awning itself, strike a level line, fix two brackets into solid masonry, lift the cassette on and clip it, pair the remote, set the pitch. Two people up to 4 metres and three above it. Budget an hour once the brackets are marked, and read the manual before you drill.
Before anyone goes up a ladder
Three things decide whether this is a job you should be doing.
- People. Two competent adults minimum. Three or more for awnings over 4 metres wide, or for any lift above shoulder height.
- The wall. This guide assumes solid load-bearing masonry, concrete or an engineered structural member, because that is what the supplied anchors are for. Hollow brick needs a chemical anchor instead. Cladding, render over a cavity and mud brick all need engineering advice before anyone drills.
- The parts. Check everything against the parts list first. A standard single-motor awning ships with the cassette, two brackets, eight fixings, the remote and the motor adjustment rod. Wider units come with extra brackets.
You will need a hammer drill, a spirit or laser level, a tape, a 6mm hex key, open and hex wrenches, a pencil and two ladders. Safety glasses and gloves throughout.
Step 1. Measure the awning, not the wall
Connect power and run the awning out a few centimetres so the arm bases are visible. Measure X, the distance between the centres of the two arm bases: that is your bracket spacing. Measure Y and Z, from each arm base to its end of the cassette. Those are the end clearances the wall has to give you.
Find the load point sticker on the back of the cassette. Each bracket sits directly under one. A bracket offset from the load point twists the cassette, and then either the arm sags or the fixing pulls out.
Step 2. Set out and mark
Pick the mounting height and check the front bar clearance at full projection before you commit. The awning drops as it extends, so doors, windows and paths have to stay clear at the far end of the travel, not just at the wall.
Strike a level line at that height with a laser or spirit level. Do not work off a window head, an eave or a brick course, because none of them are reliably level. Mark the two bracket centres on the line at spacing X, keep both at least 10cm from any corner, and confirm the clear wall past each mark beats Y and Z.
Step 3. Drill and fix the brackets
Drill square to the wall, to full anchor depth plus a little clearance, with the bit diameter the supplied anchors call for. Then blow or vacuum every hole out. Dust left in the hole is the most common reason an anchor never reaches its rated load.
Fit the anchors, hang the brackets, run the nuts finger tight, recheck level and projection, then tighten evenly. Eight fixings are supplied, four per bracket, and all eight go in. If the supplied anchors do not suit your substrate, stop and source an engineered alternative with a rated pull-out value rather than improvising.
What if the wall is hollow brick?
Then the supplied anchors are the wrong fixing and you need a chemical anchor instead. That is its own job, with its own tools and its own waiting time, so it has a guide of its own: How to Install an Awning into Hollow Brick. Come back here for the rest.
Step 4. Lift the cassette on
Take the retaining screws and cover clips off both brackets. Lift the cassette on with three people or mechanical help, seat the rail fully into each bracket slot, and check the engagement at both ends before anyone lets go.
Refit the cover clips the right way round and tighten them. Until those clips are in, the cassette can lift out of the slot and fall, so never walk away from an unclipped awning. Check the drainage side faces down and that each arm base lines up vertically with its bracket.
Step 5. Power up and pair the remote
Switch the motor on. Press P2 on the back of the remote and the motor jogs. Press P2 again for a second jog, then press the up key for a third. Pairing is done.
If it runs backwards or does nothing, start the sequence again. Do not press P2 while another motor on the same site is powered, or you will pair the wrong unit. Then run the awning fully out and fully in twice, watching that it stops cleanly at both ends and the fabric rolls on square without creeping to one side.
Step 6. Set the pitch
Extend the awning and sight along the front bar. It should sit parallel with the cassette and level end to end.
The adjuster is in the middle of each bracket behind the cover clip. Put a 6mm hex key in: clockwise reduces pitch, anticlockwise increases it. Move both brackets by the same amount in small increments, sighting along the front bar between each one. Lifting the front bar by hand while you turn takes the weight off the mechanism and saves you rounding out the hex socket.
Leave enough pitch for water to run off rather than pool.
Step 7. Final checks
- Go back over every fixing: bracket anchors, clips, arm bolts, front bar screws.
- Fit the screw caps and peel the protective film off the profiles.
- Run it out and in one last time and confirm the front bar is level.
- Record the model, width, projection and fabric for your warranty.
Have the fixings checked once a year and after any serious storm. Screws working loose is the usual reason a front bar drops out of line.
Not sure you want to do this yourself?
Plenty of people hand the job to a handyman, and some walls make that the only sensible call. Do You Need an Installer for an Awning? walks through where the line sits.
The full manual, bracket spacing and load figures are on the installer page. If you want to see the whole fit before you start, the AW01 Full Cassette Awning page carries the three minute install video.