How to Install an Awning into Hollow Brick
Hollow brick will not hold an expanding anchor. Here is how a chemical anchor and a sieve sleeve fix that, what you need to buy, and how long to leave it before you hang anything on it.
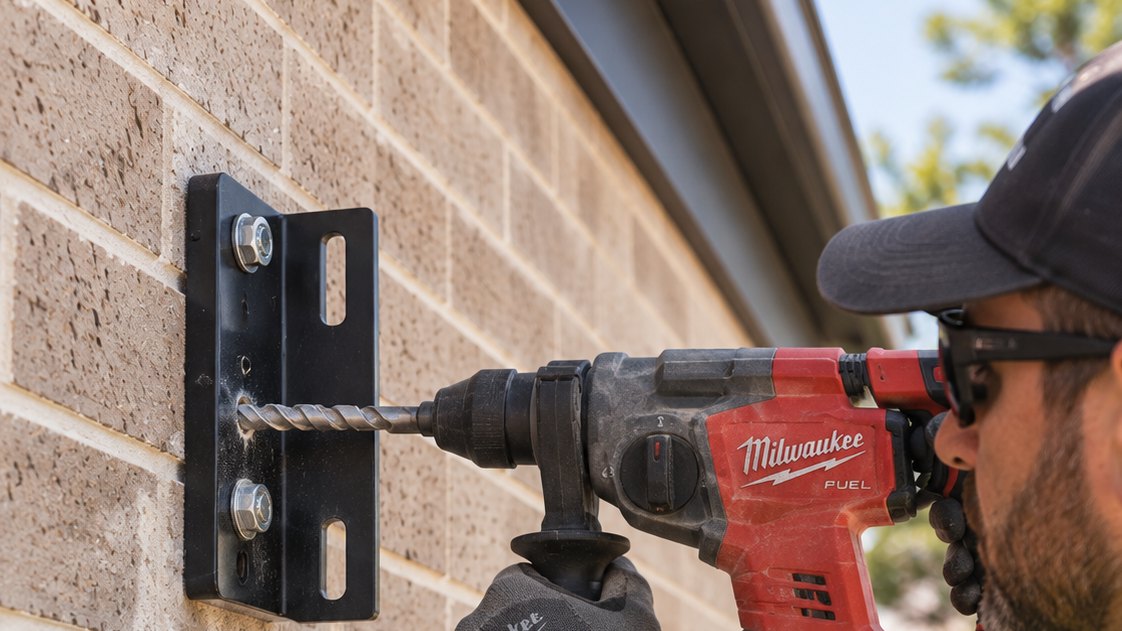
TL;DR: Hollow brick will not hold an expanding anchor. Use a chemical anchor with a sieve sleeve: drill, clean the hole properly, inject resin, twist the stud in, and leave it alone until it has cured. Everything else about the install is the same, and the rest of the steps are in the main guide.
Why hollow brick is its own problem
Most Melbourne brick veneer built since the 1970s is hollow: the bricks have cores through them, and behind the skin is a cavity. An expanding anchor has nothing solid to expand against in that, so it feels tight on the spanner and then pulls out under load. This is the substrate that fails awnings.
The fix is a chemical anchor, sold as chemset or injection anchor. It is a two-part resin in a cartridge, polyester or vinylester or epoxy depending on the product, with a mixing nozzle that combines the two parts as you squeeze. Paired with a sieve sleeve, a plastic mesh tube that drops into the hole, the resin extrudes out through the mesh, fills the brick cores, and sets into a key that cannot be pulled back through. The fixing holds on the shape of the cured resin rather than on friction.
What you need
- The resin cartridge and a spare mixing nozzle. The resin sets inside the nozzle between holes if you stop for long, so buy more nozzles than you think.
- A gun that matches the cartridge. The size decides this. Ramset sell ChemSet 101 Plus in a 600ml cartridge, and that one needs Ramset's own dispensing gun; a standard silicone gun will not take it. The smaller cartridges in the same range are silicone-tube sized and go into the gun most people already own. Check the box against your gun before you get to the wall.
- Sieve sleeves sized to the hole, one per anchor.
- Threaded rod or studs, bought separately. A resin cartridge is resin and mixing nozzles, nothing else. The 600ml ChemSet 101 Plus ships with two nozzles and no studs. Hold a bolt up to the bracket hole to size it, or measure the hole: M12 suits most brackets of this type, but the bracket decides, not the habit.
- A hammer drill with a masonry bit. This is the tool with a hammer action for drilling into brick, not an impact driver, which is for driving screws and will get you nowhere in masonry.
- A blow pump and a round wire brush matched to the hole diameter.
How to set one
- Drill the hole to the diameter and depth the resin calls for, on hammer for the brick face. Drill square to the wall.
- Clean it properly. Blow, brush, blow, brush, blow. Dust is a release agent: a dusty hole can lose most of the anchor's rated load, and it is the single most common reason a chemical fixing fails.
- Push the sieve sleeve in until it sits flush.
- Discard the first few centimetres of resin until the colour runs even. Until both parts are mixing, what comes out will not cure.
- Inject from the back of the sleeve outwards, filling about two thirds. Pull the nozzle back as it fills so you are not trapping air.
- Push the rod in with a slow twisting motion so the resin works around the thread. Resin should just appear at the mouth of the hole. Wipe the excess before it goes off.
- Leave it alone. Do not touch, load or adjust the rod while it gels.
How long to leave it
Two clocks run. Working time is how long you have between injecting and seating the rod. Cure time is how long before you can hang anything on it. Both move with temperature, and what matters is the temperature of the wall, not the air. A shaded south wall in July is colder than the forecast; a west wall in February is a lot hotter.
| Wall temperature | Working time | Before loading |
|---|---|---|
| 35°C and up | About 2 minutes | 30 minutes |
| 20°C | About 6 minutes | 45 minutes |
| 10°C | About 15 minutes | 2 hours |
| 5°C | About 25 minutes | 3 hours |
| 0°C | About 45 minutes | 5 hours or more |
Ramset quote ChemSet 101 Plus at 50 minutes to full cure at 20°C, which sits close to the middle row. Treat the rest as the shape of it, not as your numbers. Resins differ by a factor of two or three, so the figures printed on your cartridge are the ones that count. Below about 5°C many standard resins will not cure at all and you need a winter grade. On a hot wall you can lose the working time before the rod is home, so mix one anchor at a time.
When in doubt, give it longer. Nothing goes wrong from waiting; a rod turned or loaded while the resin is still green never reaches its rated load, and it will not tell you.
The part that still needs a professional
A chemical anchor makes hollow brick fixable. It does not tell you whether your wall can carry the awning. The whole weight sits on two bracket points, and the rated pull-out of a resin anchor in perforated brick is well below the same anchor in solid brick or concrete. Someone has to confirm the rated load at your bracket spacing exceeds what the awning puts into it, and that is a calculation against the resin manufacturer's data for your brick type.
If you cannot identify the brick, or the wall is render or cladding over a cavity and you cannot see what is behind it, stop and get engineering advice. That is the point in the manual where it says exactly the same thing.
The rest of the install
Nothing else changes. Measuring the arm spacing, marking a level line, lifting the cassette on, pairing the remote and setting the pitch all run the same way whatever the wall is made of. Those steps are in How to Install a Retractable Awning into Solid Brick.
If you would rather hand the whole thing over, Do You Need an Installer for an Awning? covers where that line sits. Bracket spacing and load figures are on the installer page.